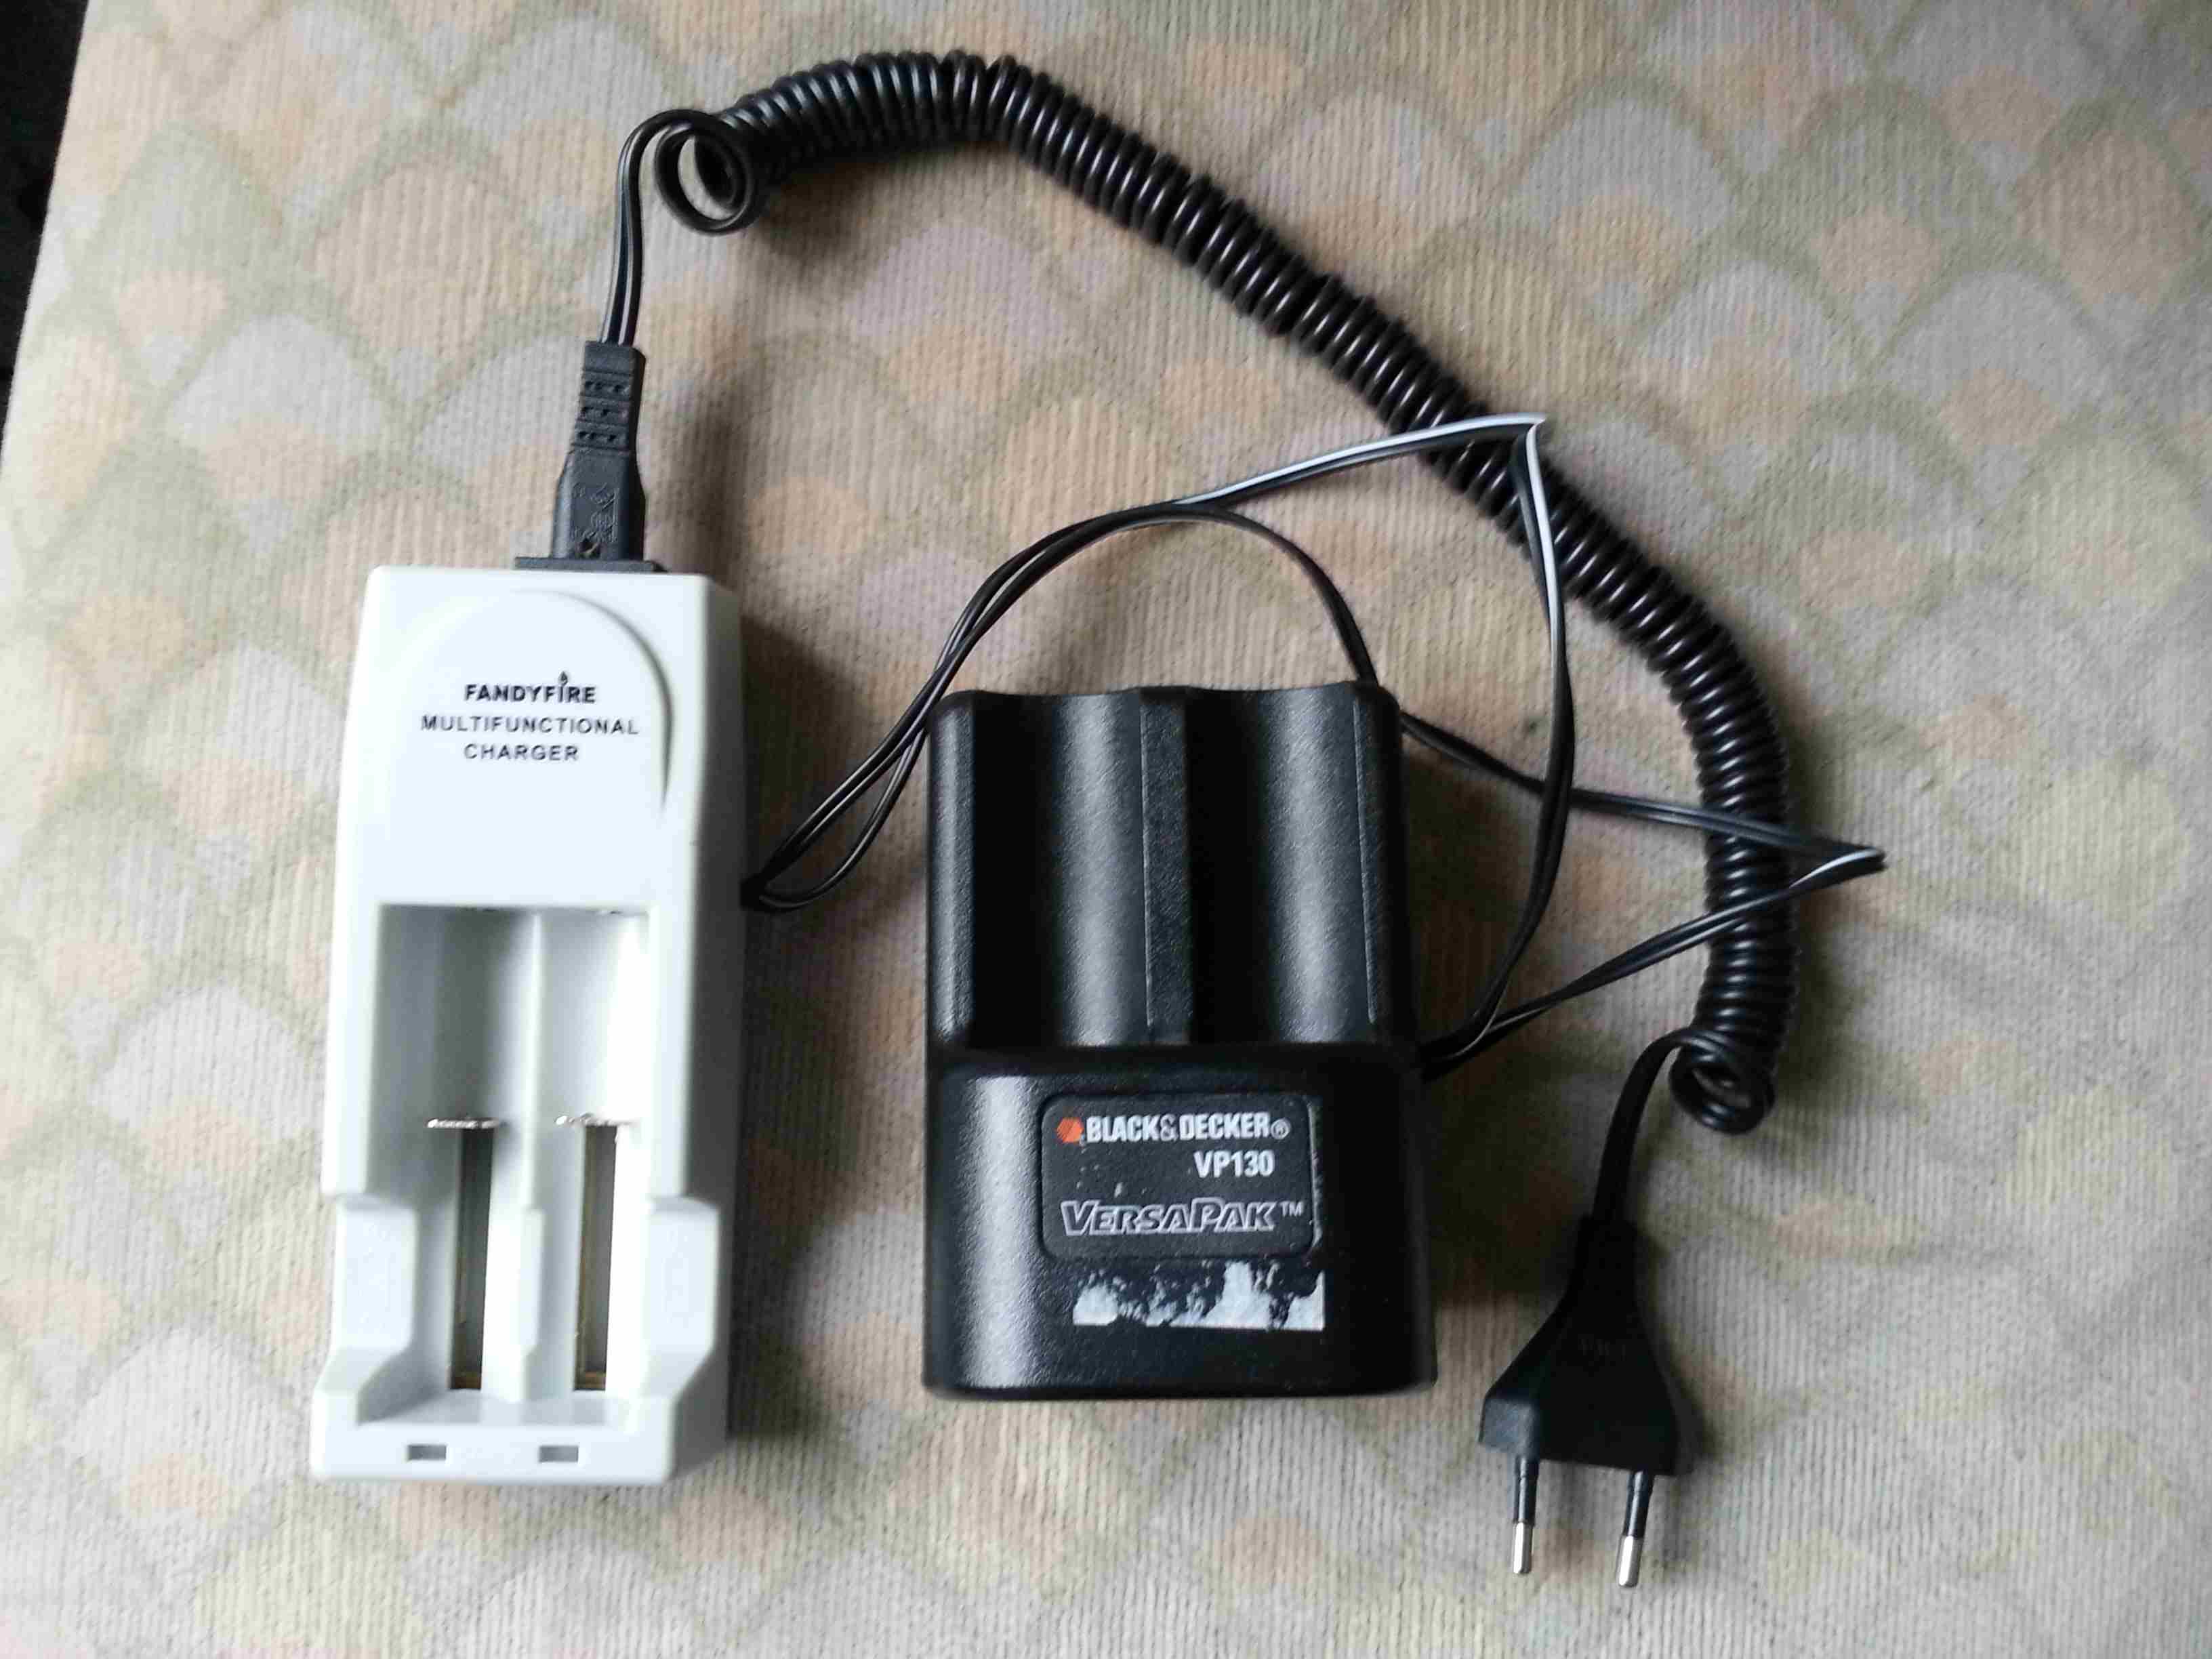
Details for connecting the two charging stations
So we have the VersaPak™ charging station and the one for the Li-Ion batteries. You can't charge Li-ion batteries with the original VersaPak™ charger. But you can connect them in parallel.
Open the VersaPak™ charger and disconnect the two diodes that go to the VersaPak™ sockets. Now one has two times an empty plus and minus pole. We would like to connect these directly (parallel) with the same ones of the Li-Ion charger. For this you need 2 cables with 2 wires each. To not have to find a second cable, I simply cut the already existing cable of the VersaPak™ device (which was clipped off anyway) in half and inserted it next to the original one. I connect each one of these half-long cables with a plus and a minus pole of a VersaPak™ socket. So afterwards 1 cable = 1 VersaPak™ socket. When I am finished with this first part, I have a VersaPak™ charging station without any electronics, which only leads out the plus and minus poles of both sockets as 2 cables.
In the second part I want to connect these two cables inside the ion charger to the poles of the ion charging bay so that the current from the charging bay goes over the cable to VersaPak™, then inside the converted battery. The batteries would then be connected parallel to the charging bay. But you should never charge a VersaPak™ and a 18650 battery in the charging bay at the same time, this can overtax the charging electronics in terms of current and it can't understand it either.
So the VersaPak™ station is just a detour until the current arrives at the Li batteries. It is important to do the polarity reversal correctly here. Before inserting the batteries, you can use a measuring device or a current tester to check whether the current from the positive pole of the ion charging bay also arrives at the positive pole of the VersaPak™ socket and vice versa.
|
